Today I wanted to share a free photo editing site that seriously has changed my life. It's called iPiccy. If you have used it you know what I am talking about. If you haven't, well get ready to have your life changed too.
As much as I want to do a full blown tutorial on how I edited each picture with the exact elements, I just don't have the focus at this very moment. My mind has been a tad bit scattered this past week with all the excitement going on in my life (ahem, Wallis Blogger Ambassador contest).
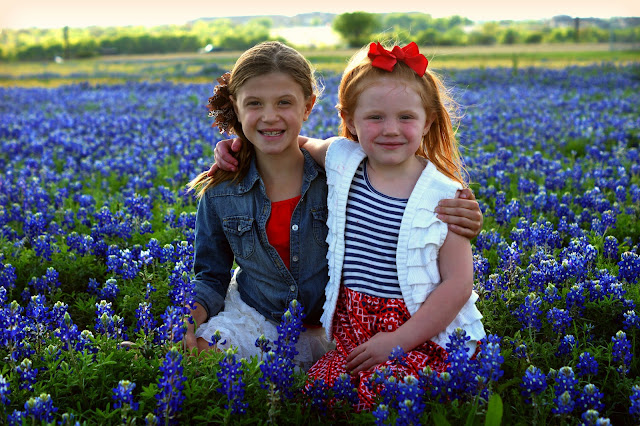
Anyway, after you take a look at the before and after pictures, I will fill you guys in on some of my favorite elements I use to edit. I toyed around with a few arrangments. They are not necessarily award winning photographs/edits. My goal is to just give you some ideas of what you can do with iPiccy and how dramatically different you can make your photos look with just a few clicks.
Please know that I am far from being a pro. I still have a ton to learn and my forte is not in photography. I have zero clue how to use Photoshop. It stresses me out and confuses the you-know-what out of me. I have tried. Believe me. Plus, Photoshop costs a pretty penny and takes time to learn. This is why I love iPiccy. It's FREE and simple to navigate. The best advice I can give is to play around with all the editing options. Get familiar with the basics. Before you know it, you will be editing faster, discovering what features you love and ones you can live without.
BEFORE

AFTER
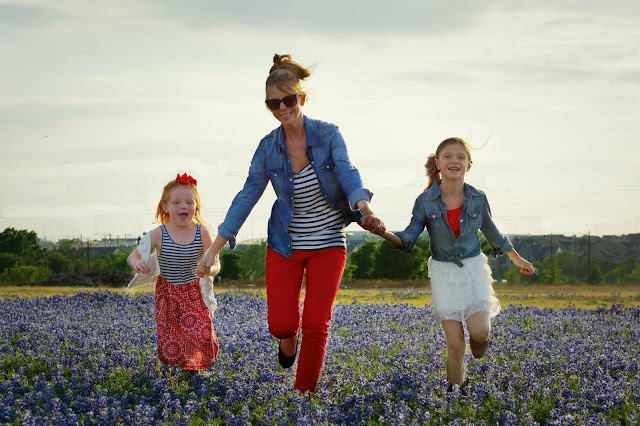
BEFORE

AFTER
BEFORE

AFTER

Again, I know I am not a Photoshop guru or a professional photographer and these edits are not perfect, but the change is pretty dramatic right?
So, here is a list of basic features and options. There are too many to list...hundreds I am sure. I am sharing the ones I tend to always use. I will do my best to put them in order of importance, at least to my standards.
Once you have chosen a picture to edit there will be a nav bar at the top.
Camera Icon:
1. I always click "Fix Image"
2. Exposure - I usually play with the exposure, highlights and contrasts. I typically leave the shadow one alone.
3. Curves - just move the little circle pointer around the grid to your liking.
4. Color Balance - I always seem to modify the red and blue coloring and keep green as is.
Magic Wand Icon:
Not to much to say here except this is where you can soften photos, add fun vignettes, vintage effects and more. Some of my favorite vintage ones are Henry, Robert and Michelle. I usually set the percentage to 75 or 80.
Faceless Person Icon:
Here you can give yourself a nice tan, remove a blemish, soften wrinkles, remove red eye and air brush to your heart's content. There is also a clone tool here which I have used so many times. It's great for removing unwanted objects out of photos (i.e. power lines, trash cans, dirt spots on the ground, etc)
Layering Icon:
If I want to crop a picture, but still keep it the same size as all my other photos that I am posting on my blog, I use this feature. Start with your original picture, click the photo button, add the same exact photo on top of the original and start sizing to what you want to be the feature in the picture. Did that make sense? Hope so.
You can also add words and shapes. Those are pretty self explanatory.
Checker Board Icon:
This one is SUPER cool. It's a chance to play with and add textured paper to your photos.
Here is a quick example by adding texture to the sky.

That about does it. Don't get discouraged if you can't figure it all out at once. I promise, once you play around with it you will catch on quickly. It's fun to see photos come to life with a few clicks. If you have any questions, feel free to ask me. I am happy to help where I can.
So, did this post provide you with a new editing tool? Have you used iPiccy before? What photo editing sites do you use? I know PicMonkey is a BIG one in blog land, but in my opinion iPiccy is 100 times better with more options and effects. However, PicMonkey is perfect for creating collages.
P.S. TODAY IS THE DAY! THE VERY LAST DAY TO VOTE FOR ME IN FOR THE WALLIS BLOGGER AMBASSADOR CONTEST!
Go here and click to vote. It's a close race.
Every vote matters! It would mean the world to me if I won.
Tweet. Facebook. Blog. Email. Instagram. Spread the word!!!!!
THANK YOU! WE SHOULD KNOW BY FRIDAY!
Every vote matters! It would mean the world to me if I won.
Tweet. Facebook. Blog. Email. Instagram. Spread the word!!!!!
THANK YOU! WE SHOULD KNOW BY FRIDAY!